Extreme Performance with Network Load Balancers
In today’s fast-paced digital era, where every millisecond counts, minimizing latency and optimizing network performance have become paramount for businesses. Network load balancing plays a crucial role in achieving these goals. By distributing incoming network traffic across multiple servers, network load balancing ensures efficient resource utilization, enhances scalability, and reduces latency.
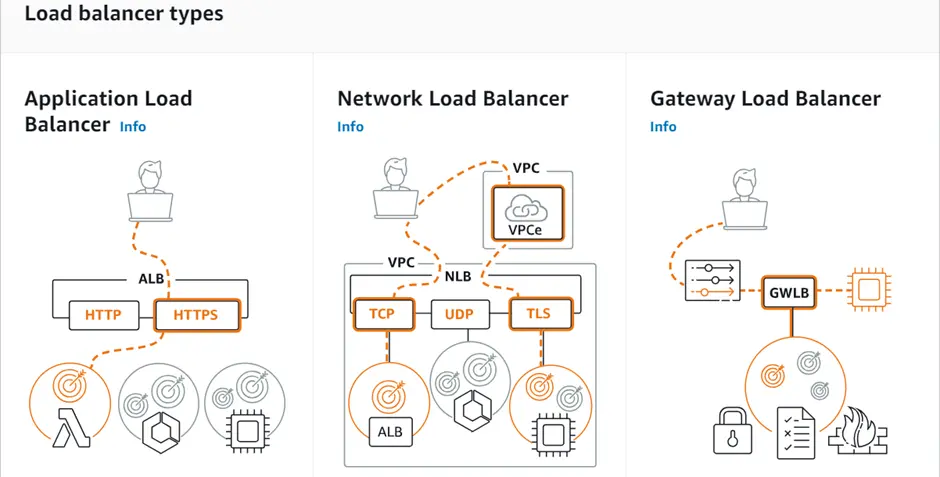
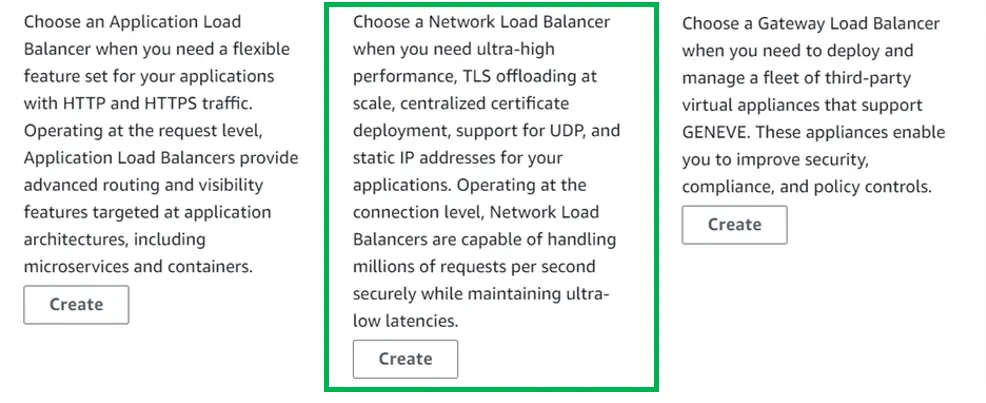
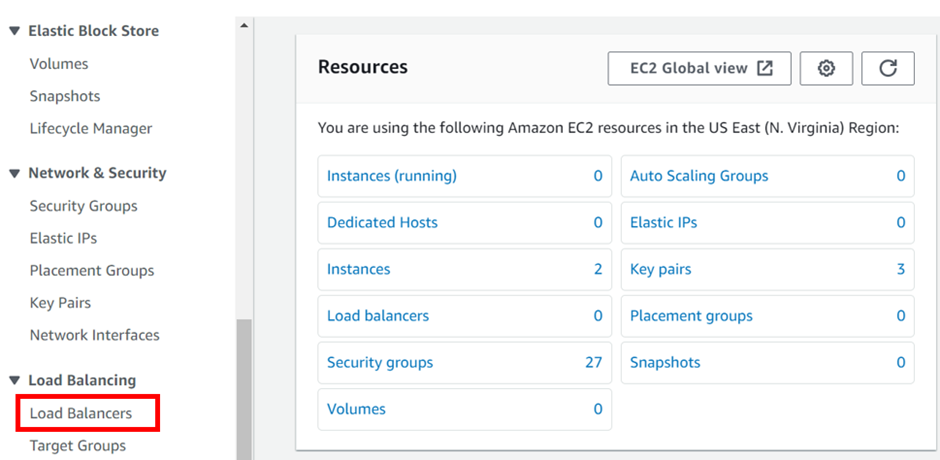
We can see in the above diagram, choose a network load balancer if you need ultra-high performance.
What is a Network Load Balancer?
A Network Load Balancer operates on the Transport Layer (Layer 4) of the Open Systems Interconnection (OSI) model rather than the application layer, making it ideal for Transmission Control Protocol (TCP) and User Datagram Protocol (UDP) traffic. It is suitable for applications anticipating an unexpected spike in traffic because it can handle millions of concurrent requests per second.
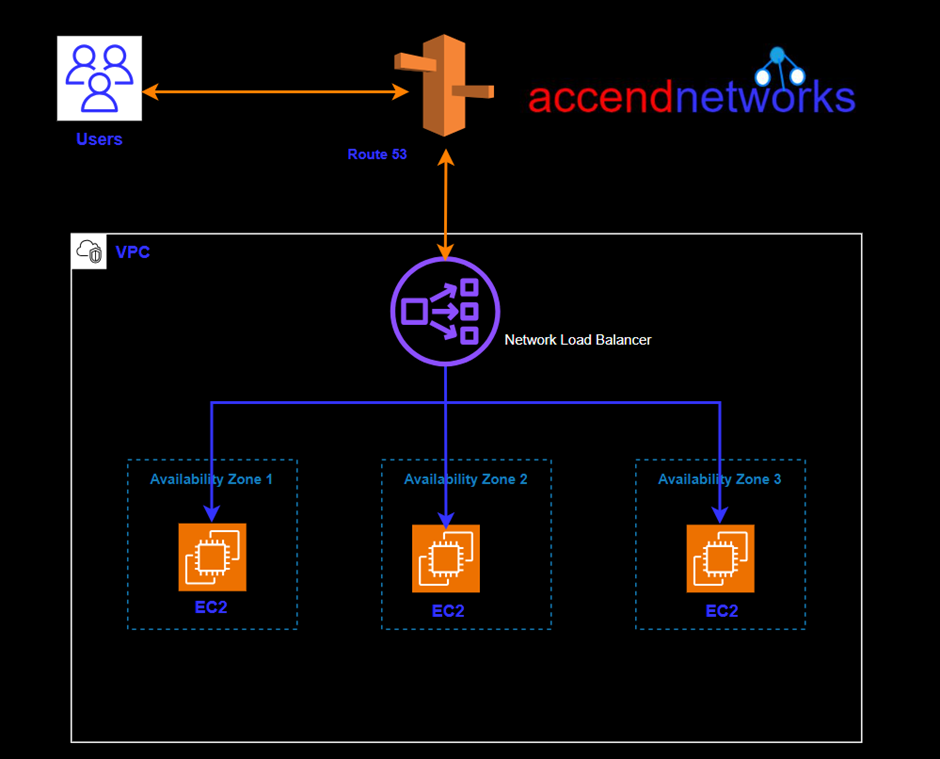
Components of AWS NLB
How does load balancing work in AWS?
Features of Network Load Balancer
The Network Load Balancer allows the back end to see the client’s IP address by preserving the client-side source IP.
Network Load Balancer also provides static IP support per subnet.
To provide a fixed IP, Network Load Balancer also gives the option to assign an Elastic IP per subnet.
Other AWS services such as Auto Scaling, Elastic Container Service (ECS), CloudFormation, Elastic BeanStalk, and CloudWatch can be integrated with Network Load Balancer.
To communicate with other VPCs, network load balancers can be used with AWS Private Link. AWS Private Link offers secure and private access between on-premises networks, AWS services, and VPCs.
Network load balancing offers several key advantages:
Enhanced Redundancy: Network load balancing introduces redundancy into your network infrastructure. If one server fails or experiences a high load, the load balancer automatically redirects traffic to the healthy servers, eliminating downtime.
Minimized Latency: Latency, Network load balancing helps minimize latency by dynamically directing requests to the server with the lowest latency or optimal proximity.
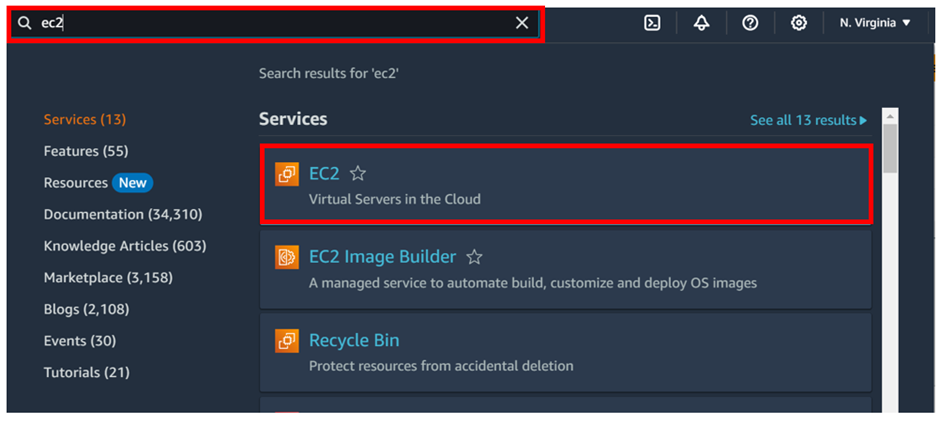
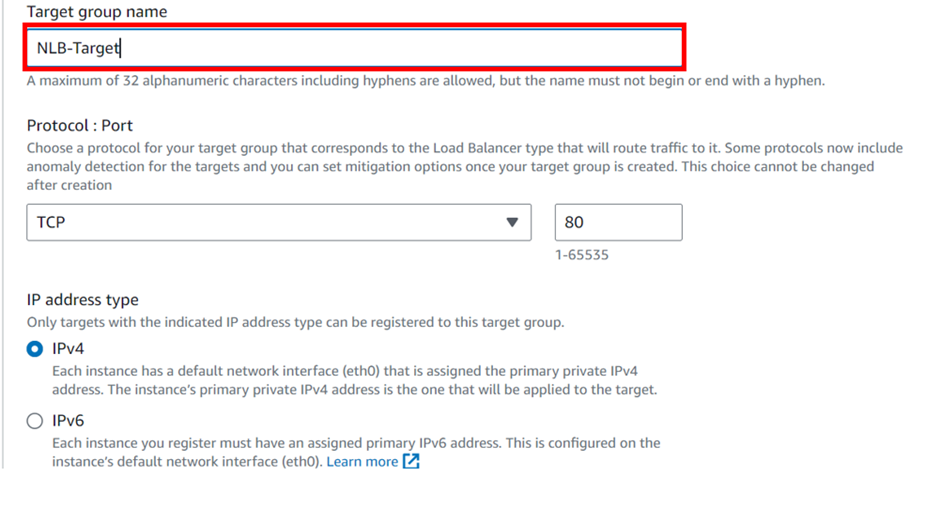
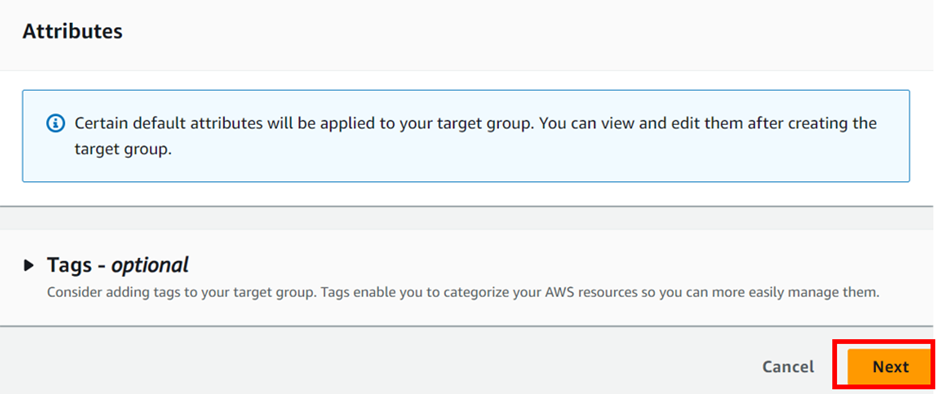
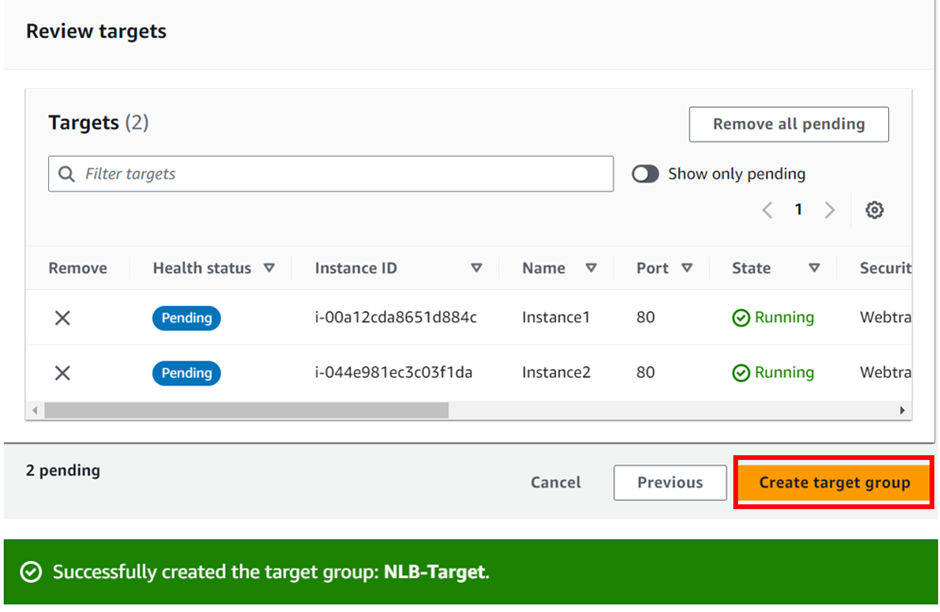
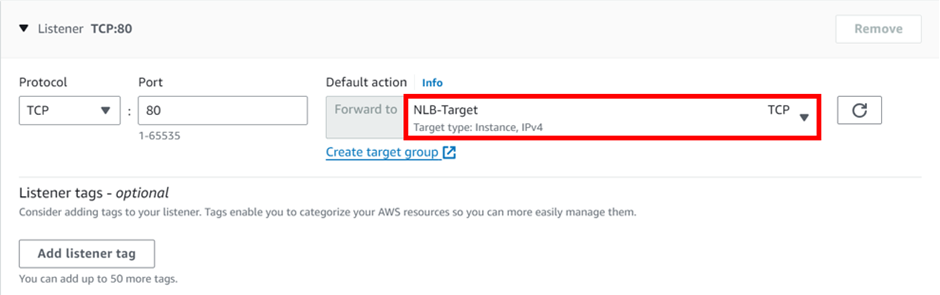
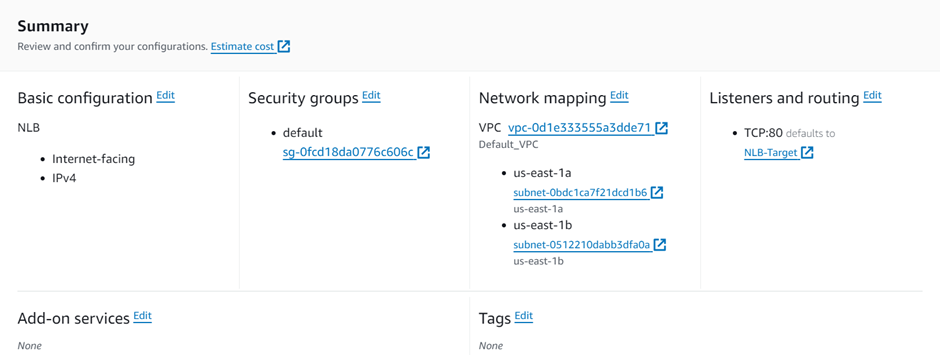
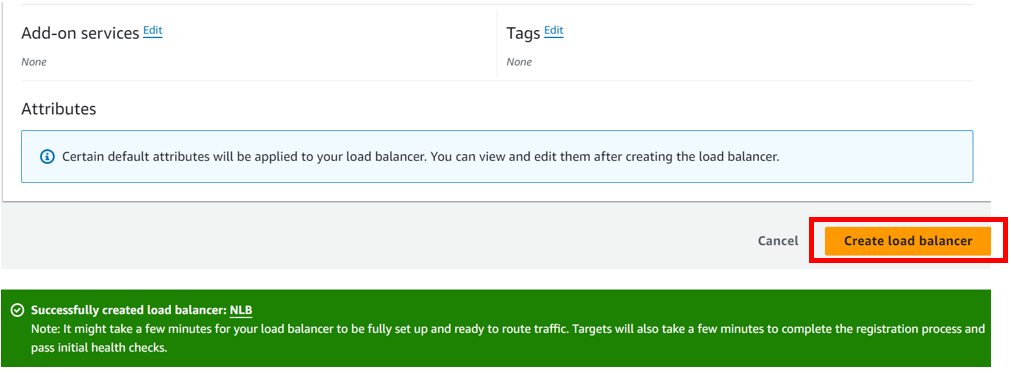
How to Create a Network Load Balancer?
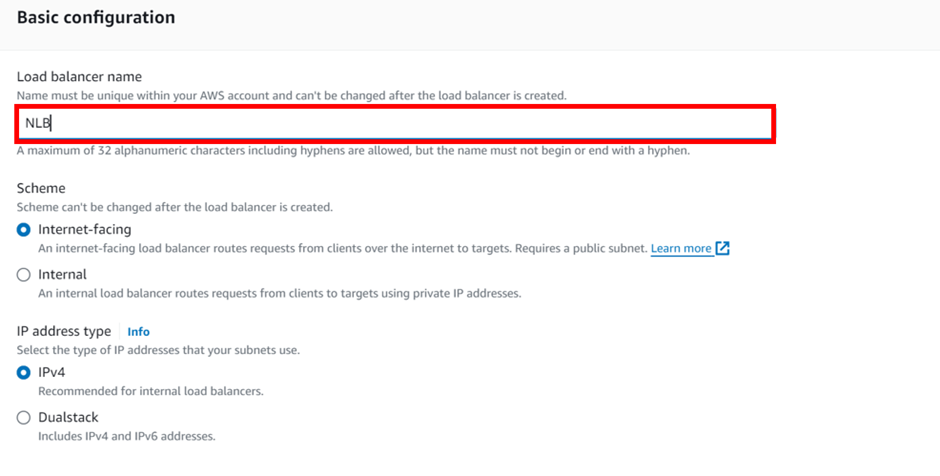
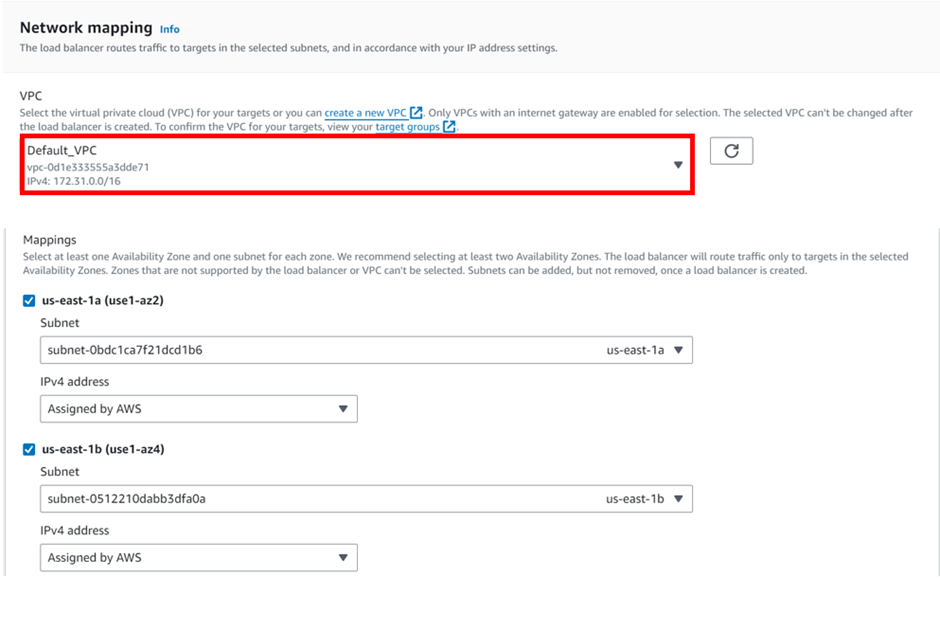
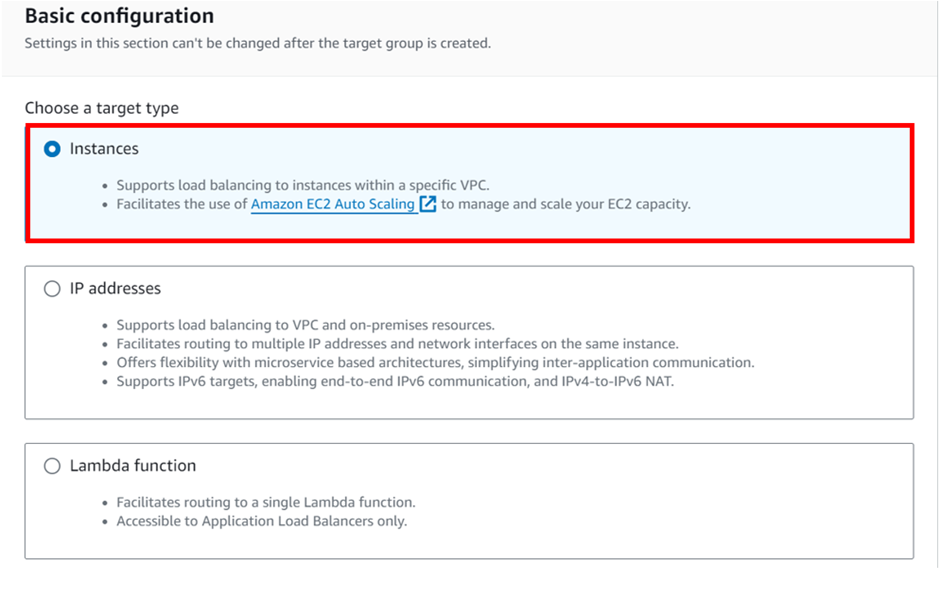
select your VPC, then under mappings select the availability zones make sure to select the AZs where your targets will reside for the EC2 instance target then under security Select the security group for your load balancer then scroll down.


If you have any questions concerning this article or have an AWS project that requires our assistance, please reach out to us by leaving a comment below or email us at sales@accendnetworks.com.
Your point of view caught my eye and was very interesting. Thanks. I have a question for you. https://www.binance.bh/register?ref=GGYHGRE
Your article helped me a lot, is there any more related content? Thanks! https://accounts.binance.com/zh-CN/register-person?ref=DCKLL1YD
I don’t think the title of your article matches the content lol. Just kidding, mainly because I had some doubts after reading the article.
Your article helped me a lot, is there any more related content? Thanks!
Thank you for your sharing. I am worried that I lack creative ideas. It is your article that makes me full of hope. Thank you. But, I have a question, can you help me?
Can you be more specific about the content of your article? After reading it, I still have some doubts. Hope you can help me. https://www.binance.info/register?ref=JW3W4Y3A
Thank you for your sharing. I am worried that I lack creative ideas. It is your article that makes me full of hope. Thank you. But, I have a question, can you help me?
Your point of view caught my eye and was very interesting. Thanks. I have a question for you.
Thank you for your sharing. I am worried that I lack creative ideas. It is your article that makes me full of hope. Thank you. But, I have a question, can you help me?
Your point of view caught my eye and was very interesting. Thanks. I have a question for you.
Your point of view caught my eye and was very interesting. Thanks. I have a question for you. https://www.binance.info/bn/register?ref=WTOZ531Y
I don’t think the title of your article matches the content lol. Just kidding, mainly because I had some doubts after reading the article. https://accounts.binance.com/register-person?ref=IHJUI7TF
Your point of view caught my eye and was very interesting. Thanks. I have a question for you.
I don’t think the title of your article matches the content lol. Just kidding, mainly because I had some doubts after reading the article. https://www.binance.info/ar/register?ref=V2H9AFPY
Thanks for sharing. I read many of your blog posts, cool, your blog is very good.