Safeguarding Your Secrets: The Importance of Using AWS Secrets Manager Part One

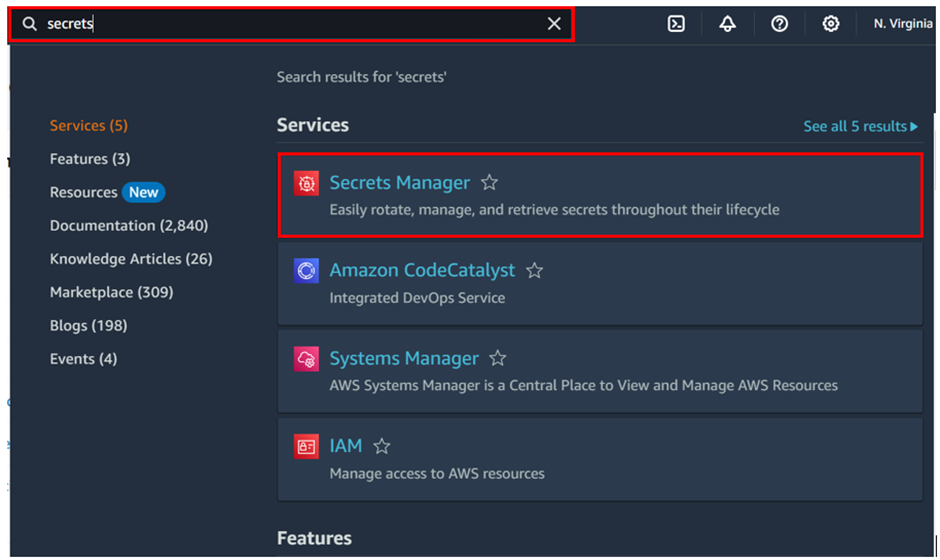
What is a Secrets Manager?
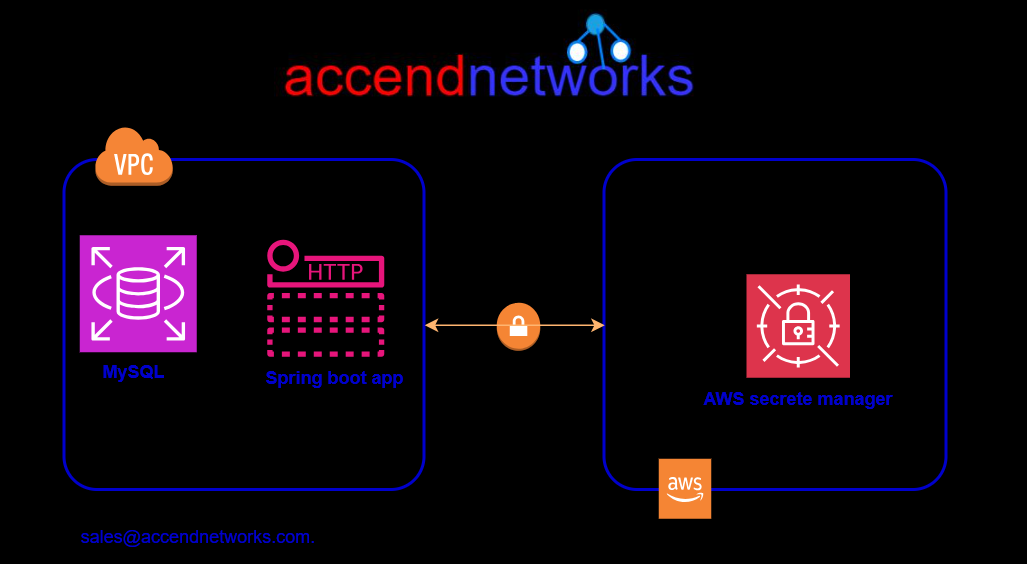
Secrets Manager is a specialized tool or service designed to securely store, manage, and retrieve sensitive information. In addition, it enables us to replace embedded credentials in our code, including passwords with an API call to Secrets Manager to retrieve the secret programmatically. This ensures that anyone examining our code cannot compromise the secrets, as they no longer exist in the application code. Additionally, the secrets are independent of the development of the application.
Furthermore, we can configure the Secrets Manager to automatically rotate the secret for us according to a specified schedule. Consequently, this allows us to replace long-term secrets with short-term ones, thereby significantly reducing the risk of compromise.
Key Benefits of Using a Secrets Manager:
- Enhanced Security
- Centralized Management
- Automated Rotation
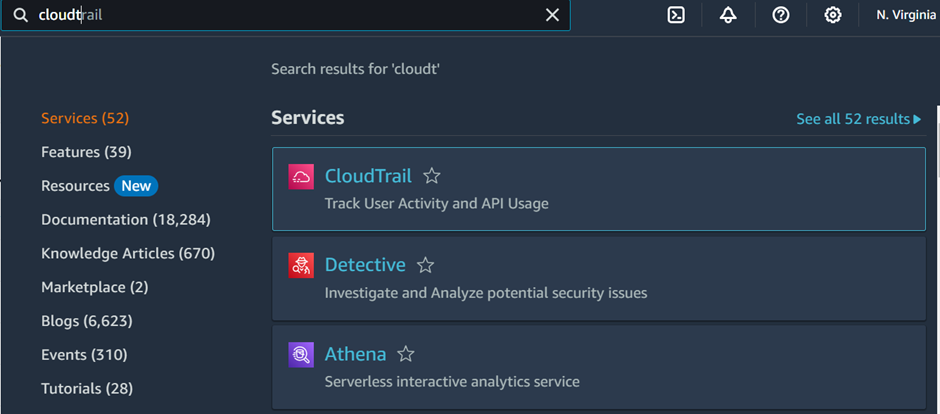
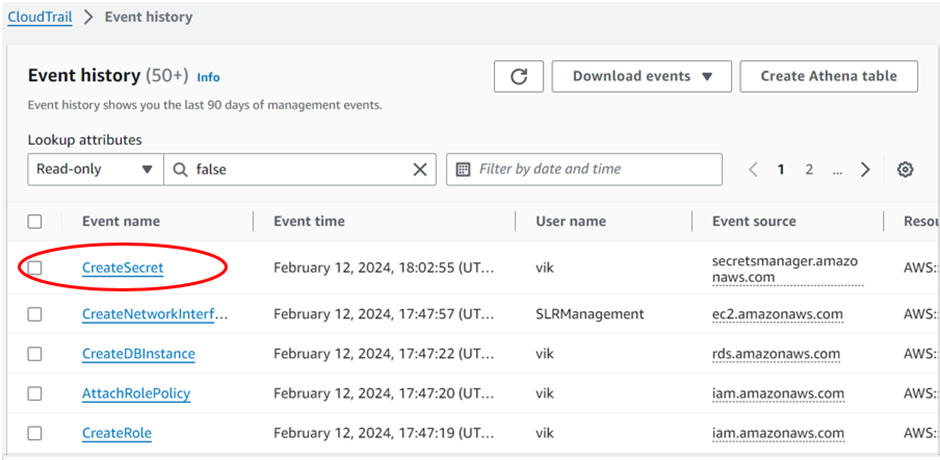
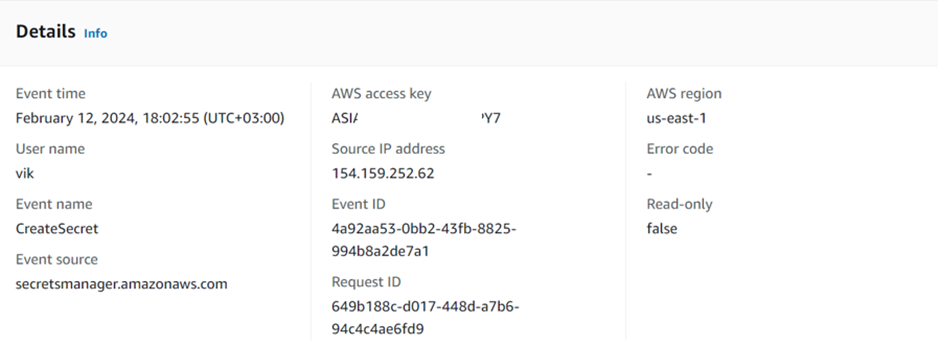
- Audit Trails
The concepts required to understand AWS Secret Manager.
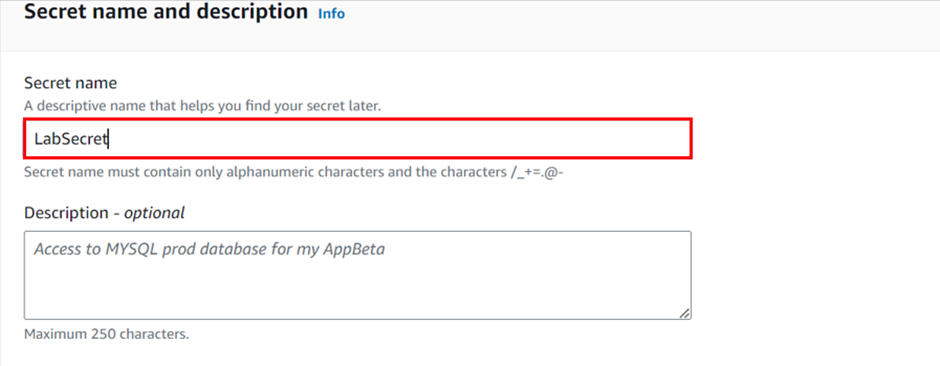
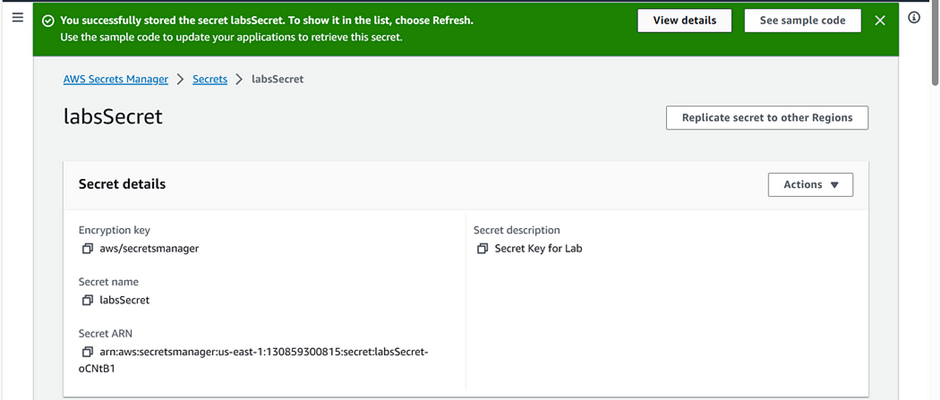
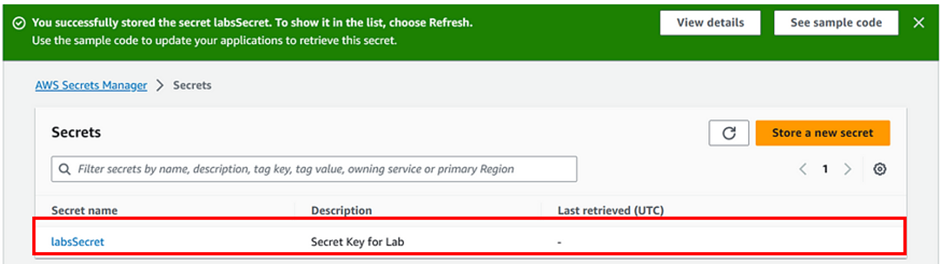
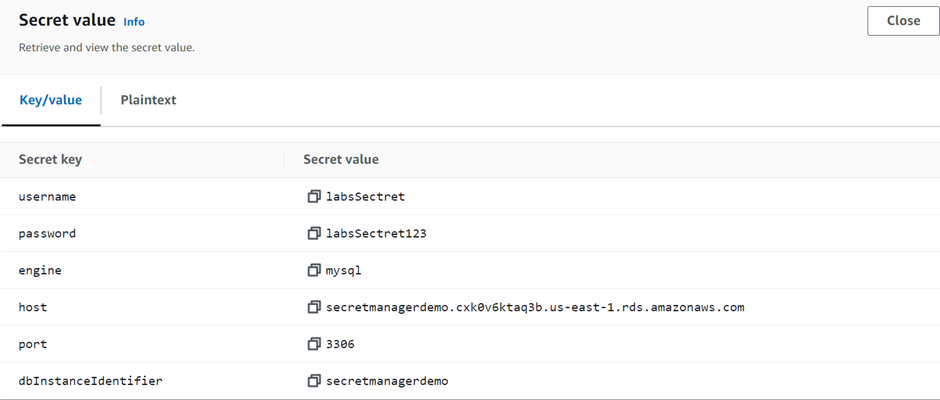
Secret– It consists of secret information, the secret value, plus metadata about the secret. A secret value can be a string or binary. To store multiple string values in one secret, we recommend that you use a JSON text string with key/value pairs.
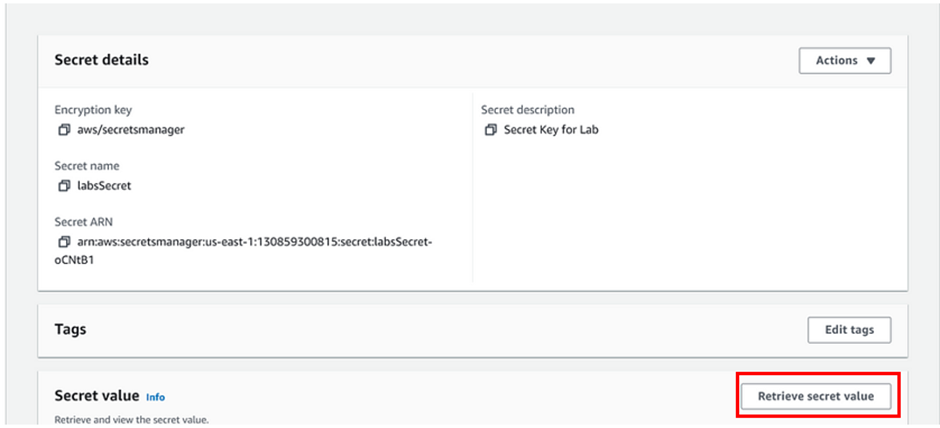
A secret’s metadata includes: An Amazon Resource Name (ARN)
A secret’s metadata includes: An Amazon Resource Name (ARN)
Version – A secret has versions that hold copies of the encrypted secret value. Moreover, when you change the secret value or rotate the secret, Secrets Manager creates a new version. Secrets Manager doesn’t store a linear history of secrets with versions. Alternatively, it keeps track of three specific versions by labeling them:
The current version — AWSCURRENT
The previous version — AWSPREVIOUS
The pending version (during rotation) — AWSPENDING
Rotation – Rotation is the process of periodically updating a secret to make it more difficult for an attacker to access the credentials. In Secrets Manager, you can set up automatic rotation for your secrets. Additionally, when Secrets Manager rotates a secret, it updates the credentials in both the secret and the database or service.
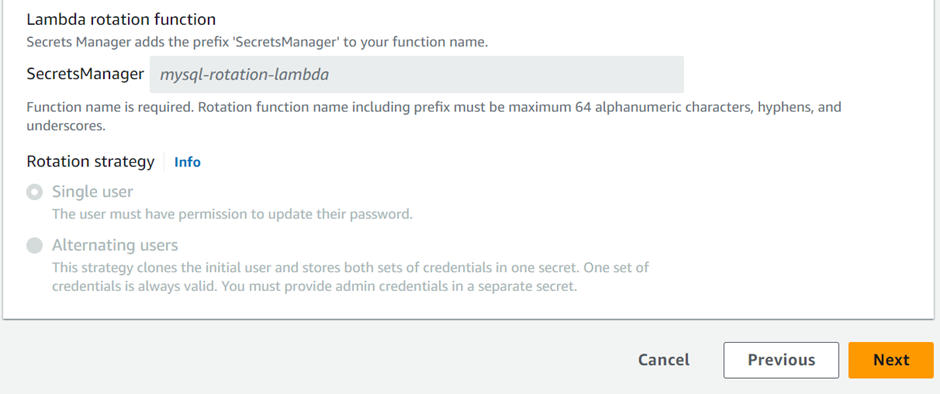
Rotation strategy– Secrets Manager offers two rotation strategies:
Single User: This strategy updates credentials for one user in one secret. The user must have permission to update their password. This is the simplest rotation strategy, and it is appropriate for most use cases.
Alternating Users: This strategy updates credentials for two users in one secret. In addition, you create the first user, and during the first rotation, the rotation function clones it to create the second user. Every time the secret rotates, the rotation function alternates which user’s password it updates. However, most users lack permission to clone themselves, so you must provide the credentials for a superuser in another secret.
Who Can Use Secrets Manager
Mainly the users of Secrets Manager can have one of the below-mentioned roles:
IT Admins: If you are an IT Admin who is responsible for storing and managing secrets.
Security Admin: As a Security Admin responsible for ensuring regulatory and compliance requirements, you can use Secrets Manager. Furthermore, you can audit and monitor secret usage and ensure necessary secret rotation.
Developer: If you are a developer, you can onboard the Secrets Manager so that you don’t have to worry about managing secrets.
Features
Rotate Secrets Safely: Without worrying about updating or deploying the code, you can easily rotate secrets.
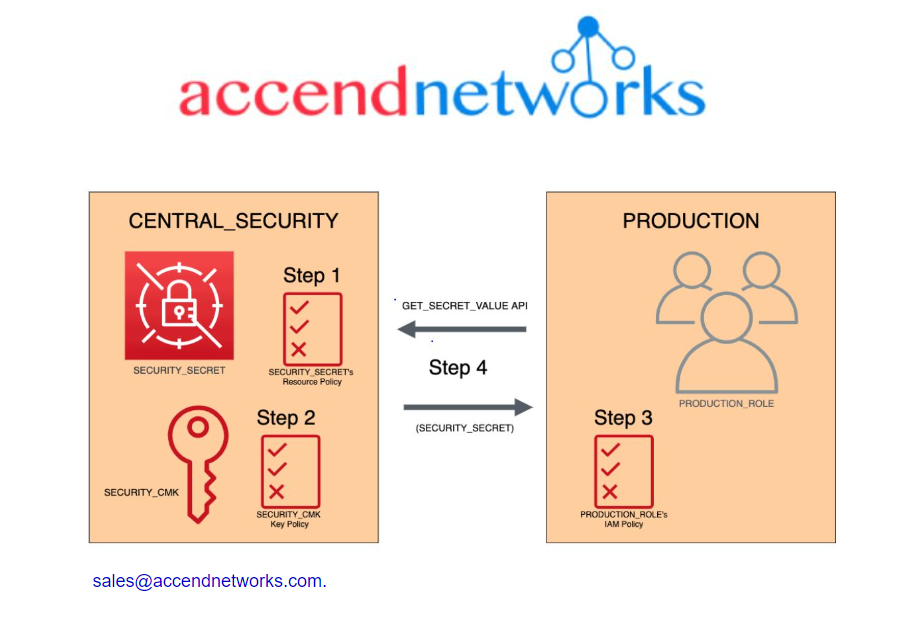
Manage Access with Fine-grained Policies: Certain Identity and Access Management (IAM) policies enable the management of access to the secrets. For example, you can create a policy that enables developers to access the secrets during development purposes.
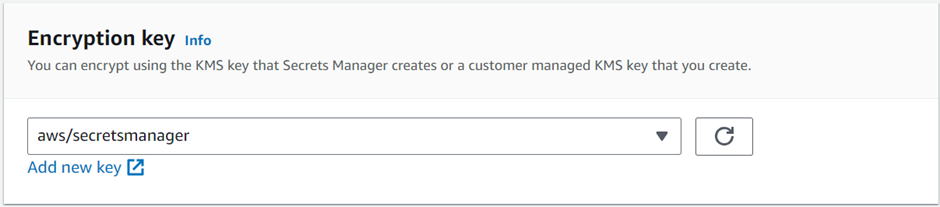
Secure and audit secrets centrally: By encrypting the secrets with encryption keys you can secure your secrets as well. You can easily achieve this by using the Amazon Key Management Service (KMS) to encrypt data.
Pay as you go: The charges will only apply based on the number of secrets managed by the Secrets Manager and the number of Secrets Manager API calls you make.
Retrieve Secrets programmatically: With Secrets Manager, you can programmatically retrieve encrypted secret values at runtime.
Use cases of AWS Secrets Manager?
- Newer service, meant for storing secrets.
- Capability to force rotation of secrets every X days.
- Automate generation of secrets on rotation (uses Lambda).
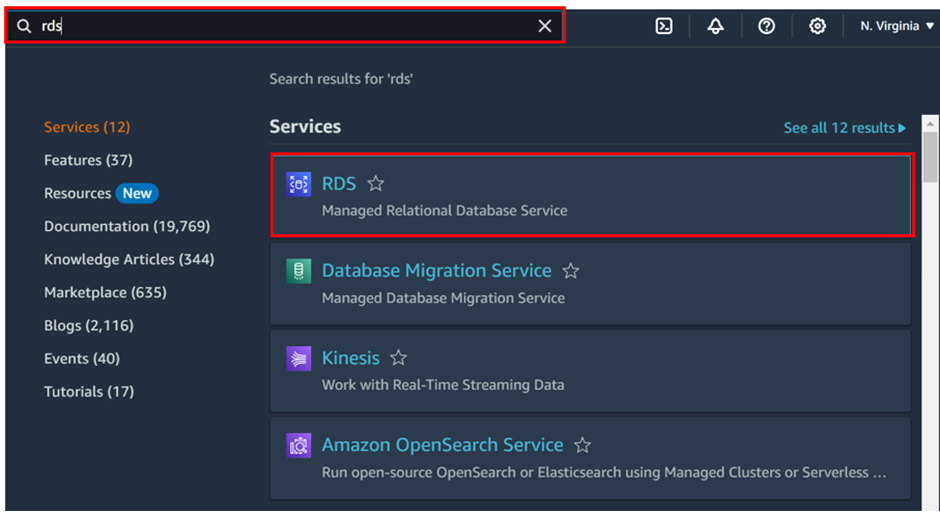
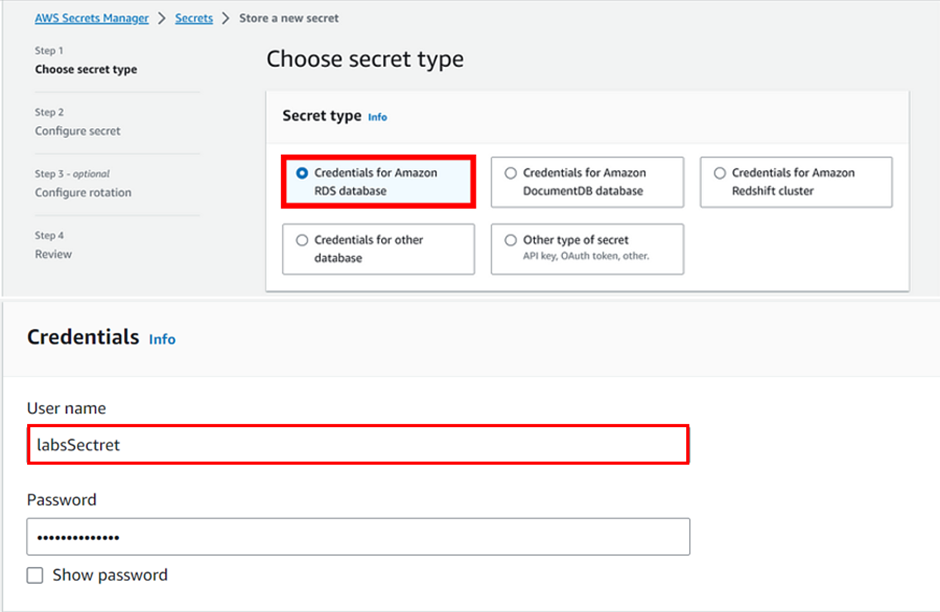
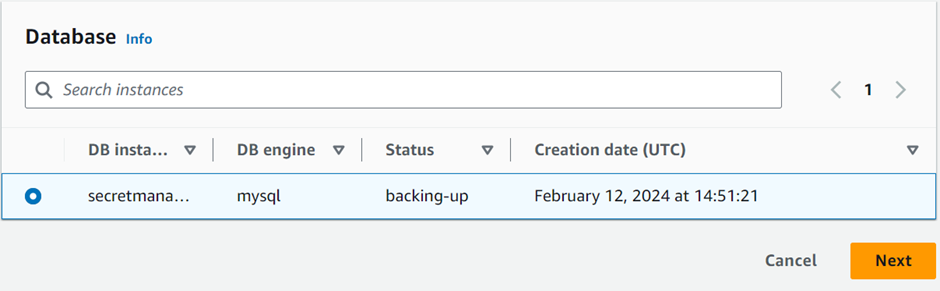
- Integration with Amazon RDS (MySQL, PostgreSQL, Aurora).
- Ability to encrypt secrets using KMS.
- Mostly meant for RDS integration.
This brings us to the end of this blog. stay tuned for more.
If you have any questions concerning this article or have an AWS project that requires our assistance, please reach out to us by leaving a comment below or email us at sales@accendnetworks.com.
Thank you!
If you have any questions concerning this article or have an AWS project that requires our assistance, please reach out to us by leaving a comment below or email us at sales@accendnetworks.com.
Thank you!