How to Set Up and Connect Amazon RDS with EC2: A Practical Guide

What is Amazon RDS?
Amazon Web Services (AWS) provides various tools to simplify the management of web applications, including Amazon RDS (Relational Database Service) and EC2 instances. Amazon RDS is a fully managed service that allows users to set up, operate, and scale relational databases in the cloud. At the same time, EC2 (Elastic Compute Cloud) provides secure and scalable computing power. Connecting these two services is essential for applications requiring database backends for dynamic data storage.
In this hands-on guide, we’ll walk you through connecting an EC2 instance with Amazon RDS, covering essential configurations, security, and best practices.
For this project, I have an EC2 Instance already launched and running. To launch an EC2 instance, you can follow these steps.
Go to the EC2 Dashboard: Open the EC2 dashboard and select “Launch instance.”
Choose an Amazon Machine Image (AMI): Select an OS that suits your application environment, such as Amazon Linux or Ubuntu.
Select an Instance Type: Choose a size based on your application needs, considering the expected database connection load.
Configure Network and Security Settings:
Ensure the instance is in the same VPC as the RDS instance to avoid connectivity issues.
Assign a Security Group to the EC2 instance that allows outbound traffic on the port your RDS instance uses, port 3306.
Launch the Instance: Once configured, launch the instance and connect to it using SSH.
Let’s configure the IAM Role:
Go to the I AM console and search for I AM then select I AM under services.

In the I AM dashboard, select roles then click on the create role button.


Under trusted entity select AWS service then use case select EC2, then scroll sown and click on the next button.


For permission select RDS full access, then click next.

Name your role then click on the Create role.


Come back to your EC2 instance and then attach that role.
Since RDS listens on port 3306, we will open port 3306 in the security groups of our EC2 instance. Move to the security tab of your EC2 instance then click on the security group wizard.

Move to the inbound rules tab then click on edit inbound rules.

Click add rule.

Select MYSQL/Aurora then for destination select 0.0.0.0/0 then click on save.

Set Up Amazon RDS
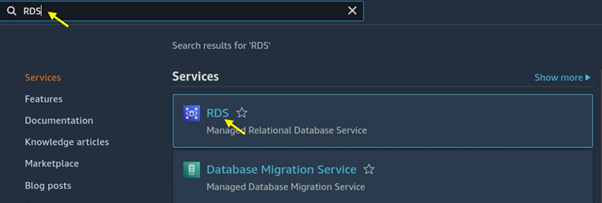
Navigate to the RDS console.

Click on DB instances then click on the Create database.

Choose standard create as the creation method.

Choose MySQL as the DB engine type.

Move with the default Engine version then for templates select the free tier.

Under credentials settings choose the master username for your DB, then select self-managed. You can generate your password or choose an autogenerated password.

Under burstable classes, choose on dB t3. Micro then leaves storage as default.

For connectivity select connect to an EC2 compute resource. Under EC2 instance select the drop-down button then select the EC2 instances you created.

Under the VPC security firewall choose existing.

For database authentication, choose a password.

Scroll down and click on Create Database.

Database creation has been initiated.


Click on the created database and copy the Database endpoint to your clipboard. Since we will need this for connecting to the database.

Now SSH into your EC2 instance.

Run this code to install the MySQL client.
sudo apt update
sudo apt install mysql-client -y

Now that the client software is installed, you can connect to your RDS instance.
mysql -h [RDS_ENDPOINT] -P [PORT] -u [USERNAME] -p
show databases;

Able to connect, thumps up.


Best Practices
Use IAM Authentication: For added security, enable IAM database authentication and manage access via AWS Identity and Access Management.
Enable Encryption: Encrypt the database at rest and enable SSL for in-transit data encryption.
Implement Monitoring and Logging: Use Amazon CloudWatch to monitor the database performance, and set up alerts for any unusual activity.
Maintain Security Groups: Review and tighten Security Group rules regularly to prevent unauthorized access.
Automate Backups: Configure automated backups for data recovery in case of data loss.
Conclusion
Connecting Amazon RDS with an EC2 instance involves careful configuration of network settings, security groups, and database settings. By following these steps, you’ll establish a secure and reliable connection between your EC2 instance and Amazon RDS, supporting scalable and highly available database access for your applications.
Thanks for reading and stay tuned for more. Make sure you clean up.
If you have any questions concerning this article or have an AWS project that requires our assistance, please reach out to us by leaving a comment below or email us at sales@accendnetworks.com.
Thank you!

Your blog is a true hidden gem on the internet. Your thoughtful analysis and engaging writing style set you apart from the crowd. Keep up the excellent work!
2rQlrVeQFDf
MEcViQTQw82
“Simply extraordinary! ✨ Your in-depth analysis and crystal-clear explanations make this a must-read. The amount of valuable information you’ve packed in here is amazing.”