
A COMPREHENSIVE GUIDE TO SECURING YOUR AWS ROOT USER
At the core of your AWS account lies the root user, the ultimate authority that wields unparalleled power to control every aspect of your AWS environment. It is therefore, no exaggeration to say that the root user is the linchpin of your AWS security. Failing to secure this key account could lead to catastrophic consequences, from data breaches to financial losses, and damage to your organization’s reputation.
This article serves as your essential guide to understanding the significance of securing your AWS root user. We will explore the unique risks associated with this account, discuss best practices, and provide practical steps to ensure its robust protection. Let’s embark on this crucial voyage toward safeguarding your AWS infrastructure.
What is a root user?
When you first create an Amazon Web Services (AWS) account, you begin with a single sign-in identity that has complete access to all AWS services and resources in the account. So basically, the identity used for the account creation is the root user. You can sign in as the root user using the email address and password that you used to create the account
The root account is the most privileged AWS account; it has unrestricted access to all resources in the AWS account.
Security best practices for a root user:
Avoid the use of root account!
Surprising right? There may be two questions that instantly come up: WHY and HOW?
WHY to avoid the use of root account?
The root account is the most privileged account with all the access, and hence compromise of a root account potentially means a transfer of ownership, as the attacker has the privilege to change the root password and keep the account.
So, it is recommended to avoid/minimize the use of root account.
HOW to access the AWS Console then, if not the root account?
One can create an IAM user administrator account to manage day-to-day activities and minimize the risk associated with root account access.
IAM User Administrator Account:
Immediately after creating an AWS account, one should start by creating an IAM user account specifically designated as the administrator account. This user should have elevated permissions but not full root access. This strategy minimizes the chances of unintended actions and provides a clear audit trail for all activities.
The Role of the Admin User:
The administrator user should be responsible for the following tasks:
Regular Administrative Tasks: All routine administrative tasks, such as creating, modifying, or deleting user accounts, configuring security policies, and managing resources, should be performed through the administrator account.
Access Control: The administrator account can delegate access rights to other users or roles, ensuring proper segregation of duties and limiting the scope of each administrator’s responsibility.
Monitoring and Auditing:The administrator should regularly review logs, access history, and monitor for any unusual activities within the system, maintaining a high level of vigilance.
Using the Administrator Account:
To maintain security, administrators should use the IAM administrator account for all their day-to-day activities. Using root access should be reserved for essential system maintenance or configuration changes that cannot be accomplished through the IAM administrator account.
Setup root account usage alarms.
Using Amazon CloudWatch alarms to detect AWS Root Account usage will help you monitor AWS (root) account activities. You can identify and act on activities which can lead to unauthorised access or other security breaches.
Delete your root account access keys.
Access keys are long-term credentials for an IAM user or the AWS account root user. You can use access keys to sign programmatic requests to the AWS CLI or AWS API (directly or using the AWS SDK).
Never share your root user password or access keys with anyone
Always ensure that your root account remain to yourself.
Monitor and review root user activity
Whenever the root user password or its storage location are accessed, the event should be logged and monitored to verify that your account root user is following best practices. When the root user credentials are used, Amazon CloudWatch Application Insights and AWS CloudTrail record the activity in the log and trail.
Don't create access keys for the root user
Don’t use highly privileged credentials for programmatic access. Credentials that are stored within applications are an easily exploited attack surface.
Use a strong root user password to help protect access
Strong passwords are more difficult to guess or break using brute-force attacks. Have root user passwords follow password complexity guidelines.
Configuring Security Best Practices for the Root User:
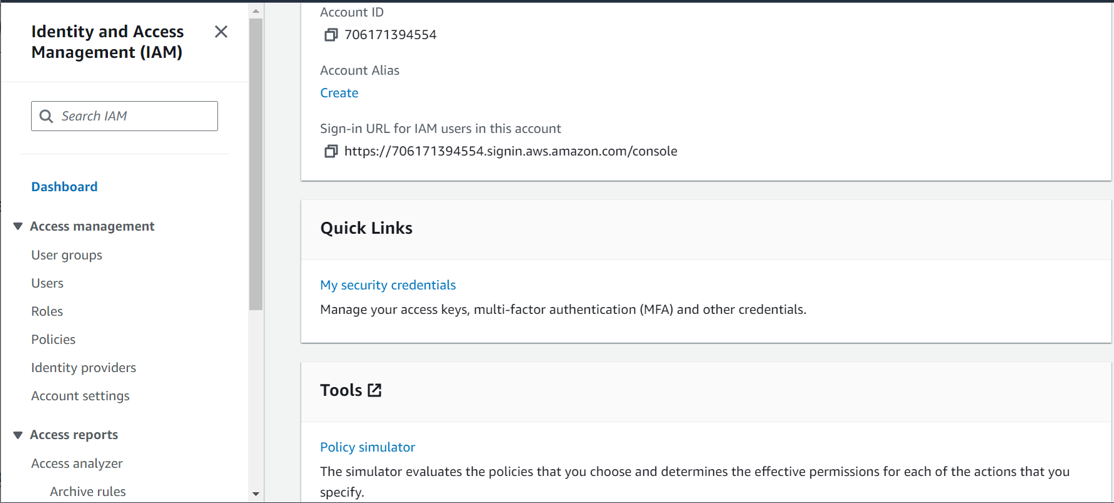
Sign in to the AWS Management Console and open the IAM console at https://console.aws.amazon.com/iam/
Deleting Root Access Keys
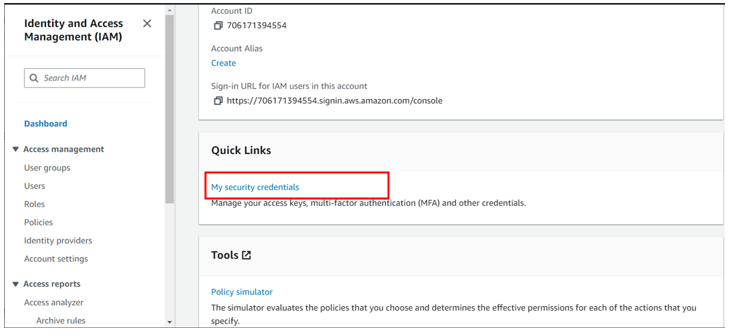
log in as root, click in my security credentials as shown below,
For my case I don’t have any access keys for my root account since it’s not a best practice, but we will create one for this demo.
Under security credentials scroll down to access keys and click create access keys.
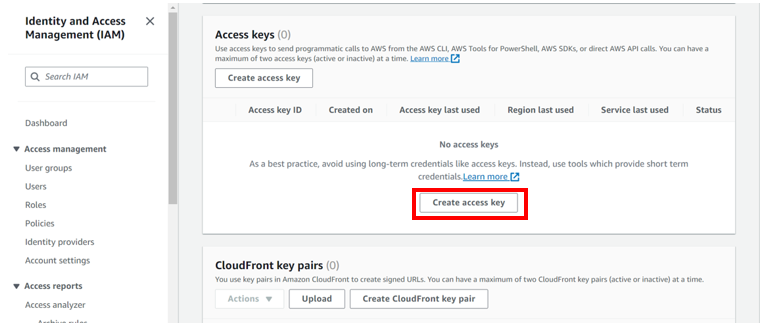
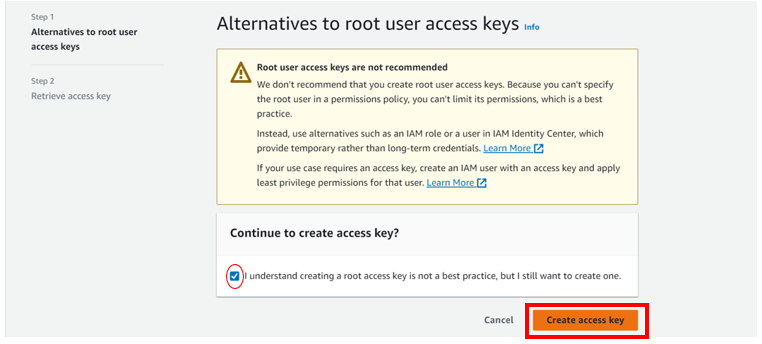
As you can already see the red flag, Root user access keys are not recommended.
Check the box down on “I understand creating is not recommended but I still want to create one” then click create access key.
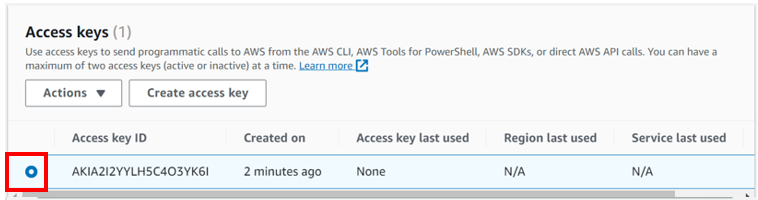
There we go, access keys created and you can download the csv file

Coming back to our I am dashboard, already we can see there is a red flag. we are advised to deactivate or delete access keys for root user. We will now proceed and see how we can delete access keys for root user account.

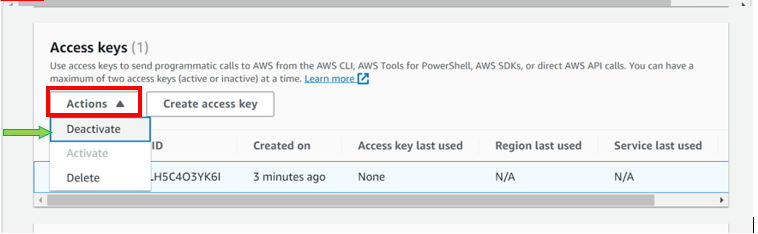
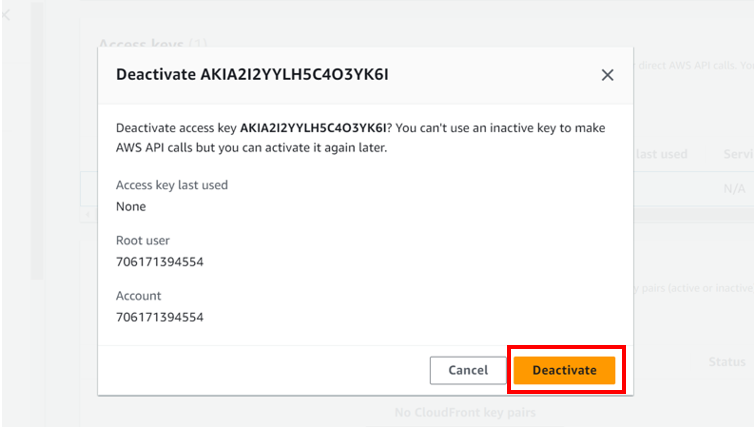
Select the radio button under access key ID, then select action drop-down button then click deactivate. Remember you must first deactivate an access key before deleting it. When prompted proceed and click deactivate.
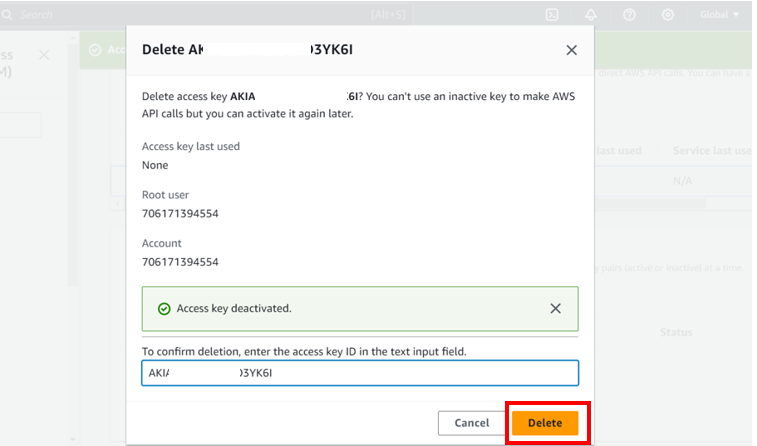
we have successfully deactivated our access keys. We will now proceed and delete them.
Again, select the radio button next to access key Id, select the drop-down button but this time round select delete. Confirm the deletion then click delete.
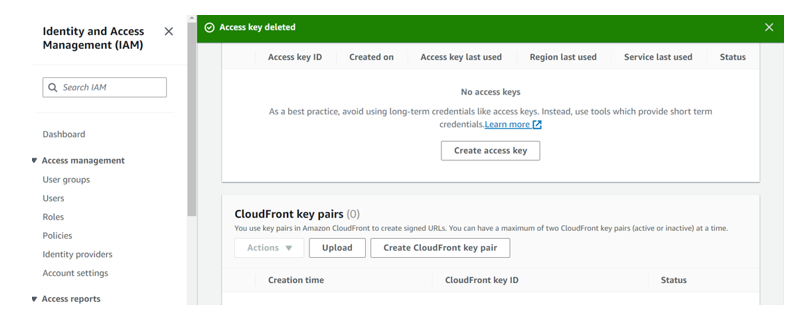
We have successfully deleted our access keys.
Activating Root Account MFA
Multi-Factor Authentication (MFA) is a security system that verifies a user’s identity by requiring multiple credentials. An MFA device signature adds an extra layer of protection on top of your existing root credentials making your AWS root account virtually impossible to penetrate without the MFA generated passcode.
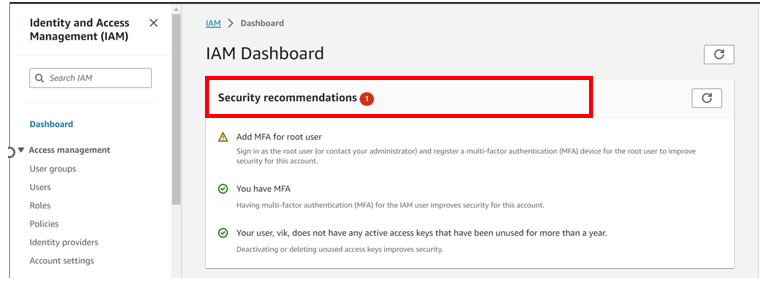
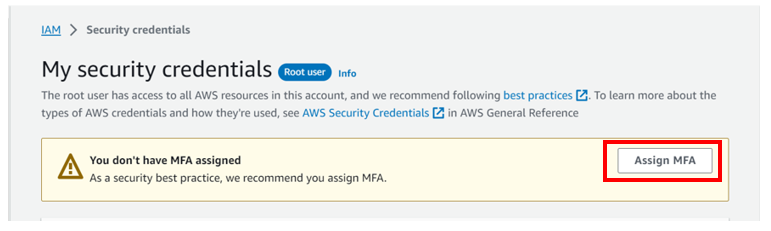
Logged in as root, under I am dashboard, already you can see there is a one security recommendation red flag.
And the red-flag is Add MFA(Multi-Factor-Authentication) for the root user.
Install any authenticator app from the list provided here,
Then logged in as root, click assign MFA as shown below.
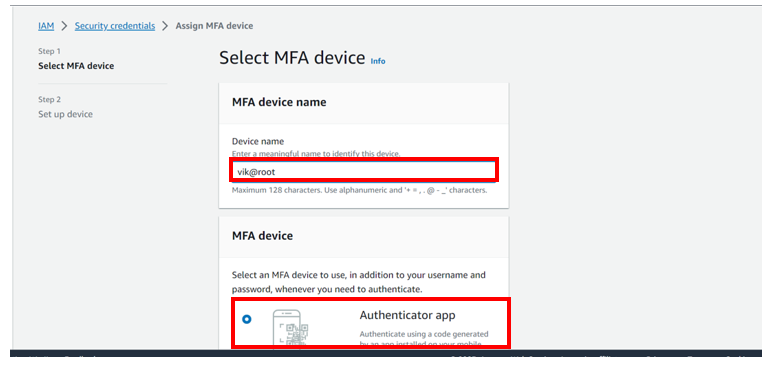
You will be brought to assign MFA device dashboard, under MFA device name enter device name for my case, I will enter vik@root.
Under MFA device, select MFA device to use, for my case because am using an Authenticator app, I will select the radio button next to the authenticator app.
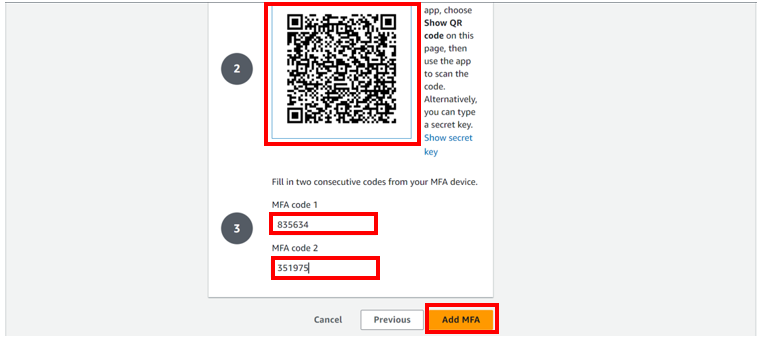
click show QR code.

Open your authenticator app on your device, select add then scan a QR code, alternatively, you can type a secrete key, but for this article, we will work with the QR code. After the scan you will be prompted on your console to fill in two consecutive codes from your MFA device. Fill them then click add MFA
MFA device assigned as you can see it on your dashboard. Clap for yourself.
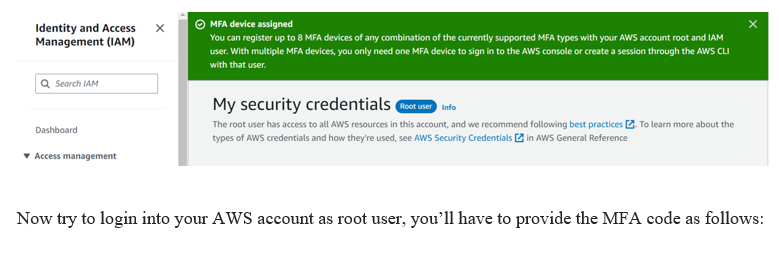
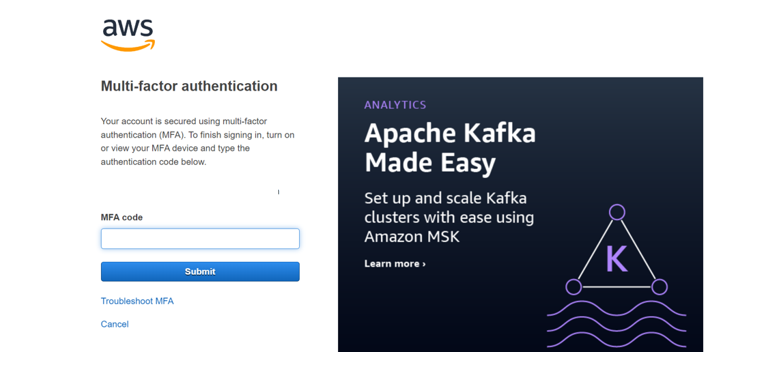
Now try to login into your AWS account as root user, you’ll have to provide the MFA code as follows:
This is how you can configure Security Best Practices for the Root User and enhance the security of the AWS Account.
If you have any questions, feel free to reach out to us at sales@accendnetworks.com and we would be glad to schedule a call with you to discuss your project further.
Thank you!